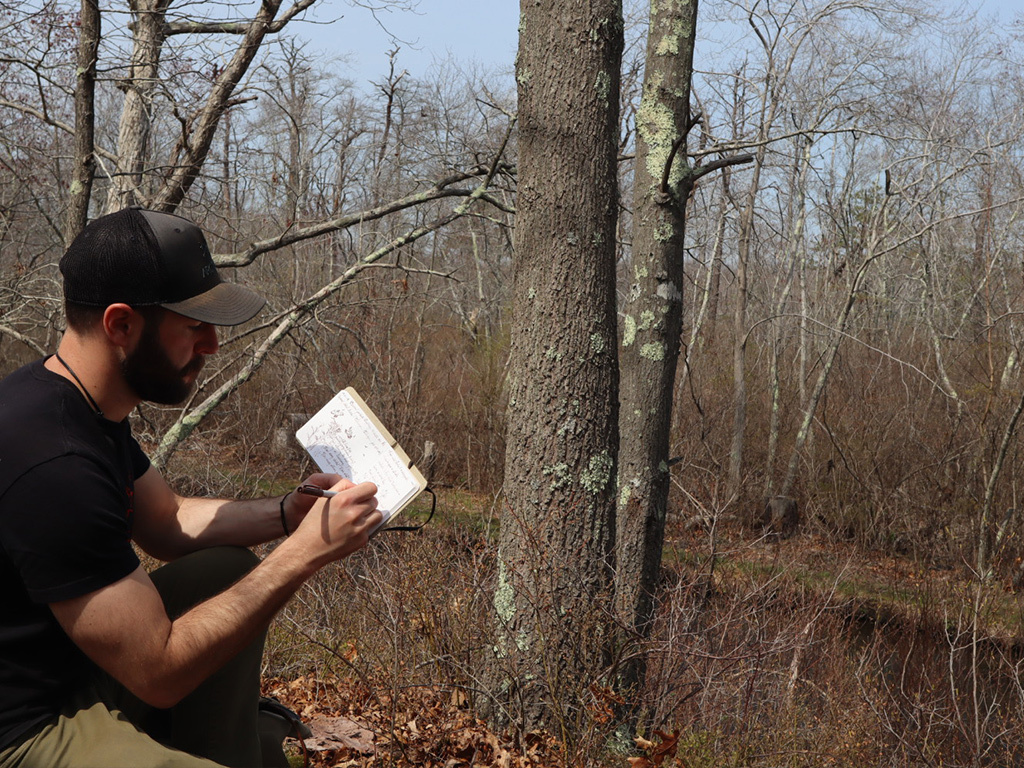
“Field sketching” means drawing subjects from nature on location. Not only is this great drawing practice, it’s also a creative way to tune into your environment. This article will teach you how to create the best field sketching kit for your needs.What you’ll learn:
How to build a field sketching kit
How to modularize your kit
How to optimize your kit
What you need:
Hard cover sketchbook or notebook
Basic drawing materials
Portable container
Step 1: Start With a Basic Field Sketching Kit
It doesn’t require much to get started with field sketching. In fact, you can build your very own field sketching kit for under $10. The best way to proceed is to start with the basics: a sketchbook and a pencil.
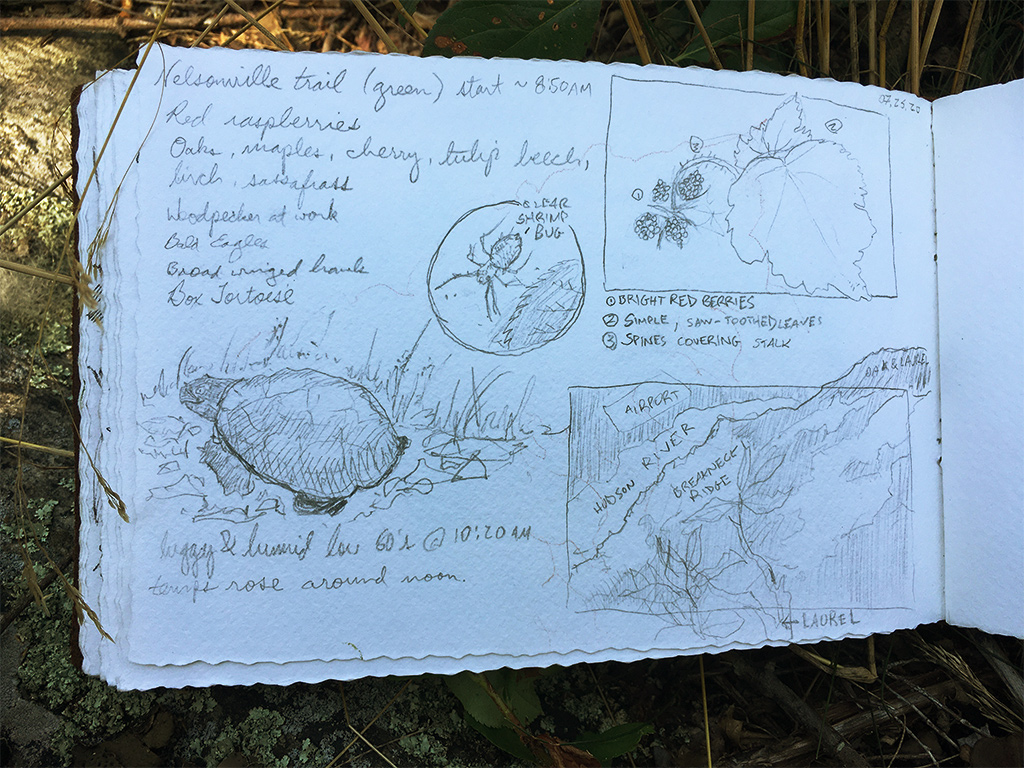
Overall, I find that a sturdy, portable, hardcover book with multi-media paper is a good general starting point for most people. If you’re particular, try something that works for your preferred medium. For example, a journal that’s best for pencil drawing might not be ideal for watercolor paintings.
Step 2: Only Bring What You Are Definitely Going Use in Your Field Sketching Kit
It’s easy to get overly ambitious and bring an entire set of paints, brushes, inks and the kitchen sink. However, the best way to show up prepared is to know what you will do before heading out. Your kit will always contain the basics but you can modularize your kit by adding only what you know you will use on location.
There was a period in my field sketching when I wanted to copy the style of the old masters by using sepia ink. I learned the hard way that although this medium worked great at home, it was HORRIBLE out in the field because the ink would bleed if it got wet. Modularizing your kit is an ongoing trial and error process. Don’t be afraid to experiment. You can always fall back on your basic kit if it doesn’t work out.
Basic Kit:
Hardcover Sketchbook or Nature Journal
Pencil with sharpener
Kneaded Eraser
Optional Add-ons:
Color Pencils
Watercolor Paints or Inks
Measuring or other scientific tools
Step 3: Optimize Your Field Sketching Kit for Your Environment
It’s important to understand the conditions you might encounter in the field. Several years ago, I thought it would be a great idea to make an acrylic painting from the top of Mt. Shuksan. After reaching the 9,131 ft summit, my paint froze and my brush got ruined. Worst of all, I couldn’t finish my field sketch!
Planning is everything when venturing out into nature, especially if you want to optimize your field sketching kit. If I were to attempt another mountaintop field sketch, I would certainly include a medium that wouldn’t freeze, as well as glove liners that allowed my hands to stay warm while maintaining dexterity.
What I Brought:
Individual sheets of watercolor paper
Acrylic Paint and Brushes
Ink brush
Felt tip pen
Whiteout pen
What I Should Have Brought:
Hardcover Sketchbook
Pencil (HB & 2B) & Sharpener
Kneaded Eraser
Color Pencils (Primary Colors) or Color Tinted Charcoal Pencils
You can tell that this painting just didn’t work out. I took a reference photo and finished the field sketch in ink after I got home. What a missed field sketching opportunity!I actually got to finish this field sketch on location. All I did was optimize my kit for freezing temperatures. The glove liners and hot tea thermos also came in handy.
How to Build Your Field Sketching Kit Video
Now that we’ve covered the basics, let’s recap and explore a few other points.

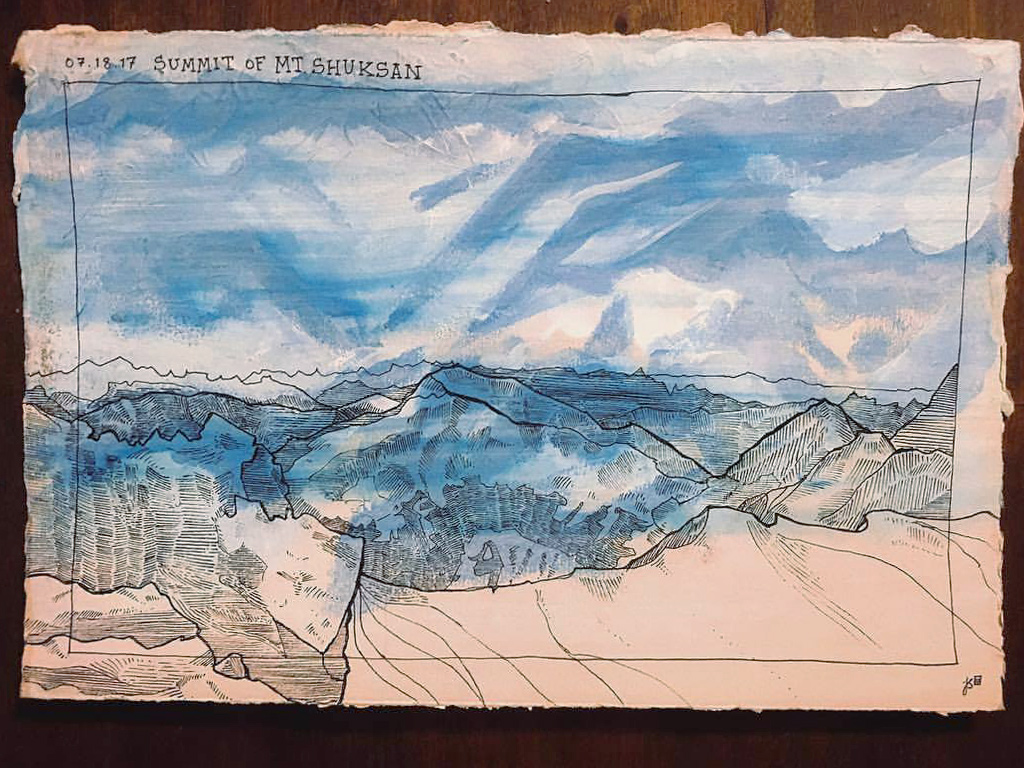 You can tell that this painting just didn’t work out. I took a reference photo and finished the field sketch in ink after I got home. What a missed field sketching opportunity!
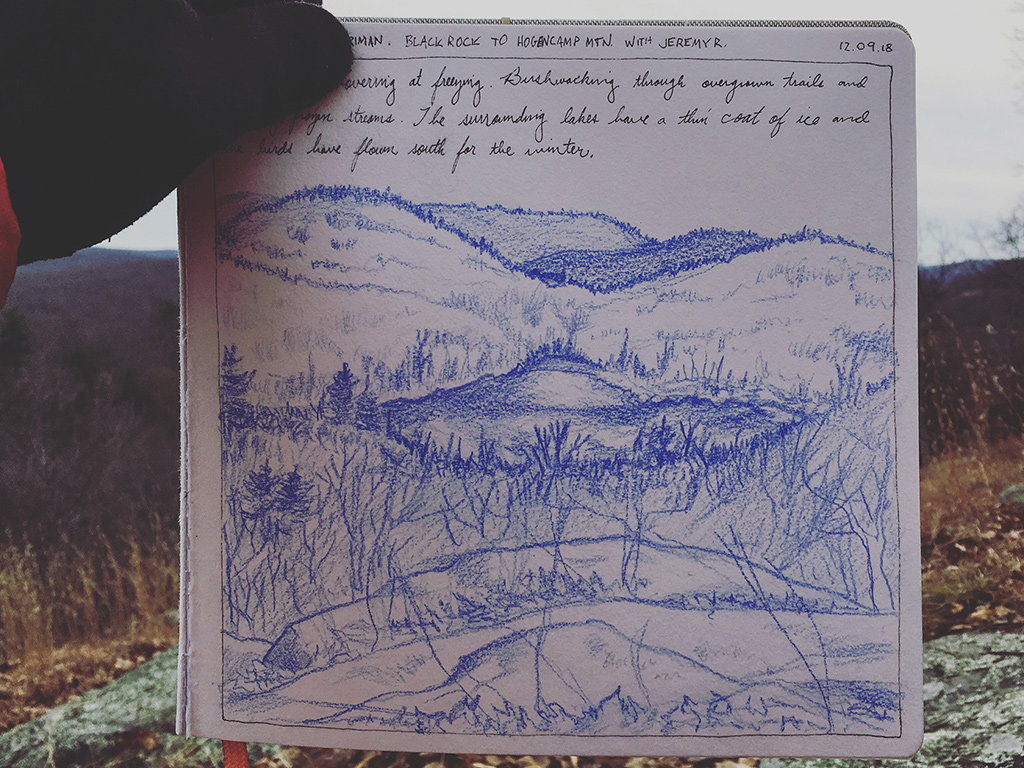 I actually got to finish this field sketch on location. All I did was optimize my kit for freezing temperatures. The glove liners and hot tea thermos also came in handy.

